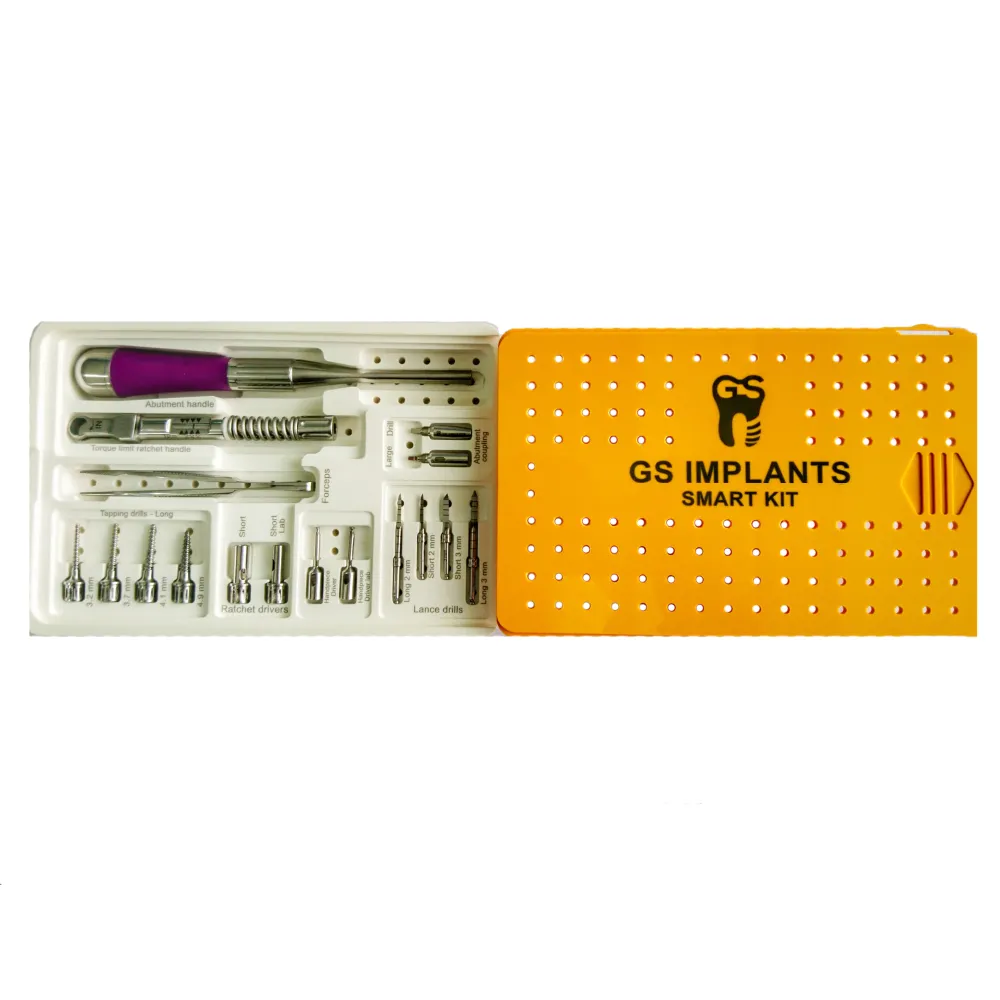
Overview
Compact, lightweight implant surgical kit ideal for precise implant placement.
Pricing
| MRP (list) | ₹56,000 |
|---|---|
| Discount | 28.58% |
| Offer price (rounded) | ₹39,995 |
| You save vs MRP | ₹16,005 |
Offer = MRP × (1 − discount%), rounded to whole rupees. Confirm on Teethment before purchase.
Features
Optimization of the doctor’s work process, saving his time.
Maximum corrosion resistance.
Unique design and sharpness for minimal invasiveness and increased apex implant stability.
Easily attachable and detachable.
Allows a wide variety of implant placement techniques
Ensures precise osteotomy with minimal heat generation
Provides enhanced tactile feedback during drilling
Simplifies intraoperative handling with logical layout
Maintains long-term durability with premium materials
Supports both single and multiple implant cases
Details
The GS Implant Surgical Kit is a comprehensive and precision-driven solution for performing a wide range of implant placement procedures. This system is meticulously designed to enhance clinical workflow and optimize outcomes through a guided drilling protocol. The kit includes sequential drills, depth stoppers, and implant drivers, all arranged in a user-friendly layout that ensures procedural clarity and efficiency. Its compact and lightweight construction makes it ideal for both in-clinic and portable use. With laser-marked instruments, clear depth control, and robust sterilization compatibility, this kit provides unmatched utility for predictable and minimally invasive implant placement. A perfect choice for dental professionals seeking reliability, precision, and ergonomic performance in surgical settings.
Key specifications
Type:Universal implant surgery kit
Category:Implants
Material:Surgical-grade stainless steel
Corrosion resistance:Yes
Portability: Lightweight and compact design
Box Dimension: 200x110mm
Lance Drills :
Short 2mm
Short 3mm
Long 2mm
Long 3mm
Tapping Drills :
Short 3.2mm
Short 3.7mm
Short 4.2mm
Short 4.9mm
Packaging
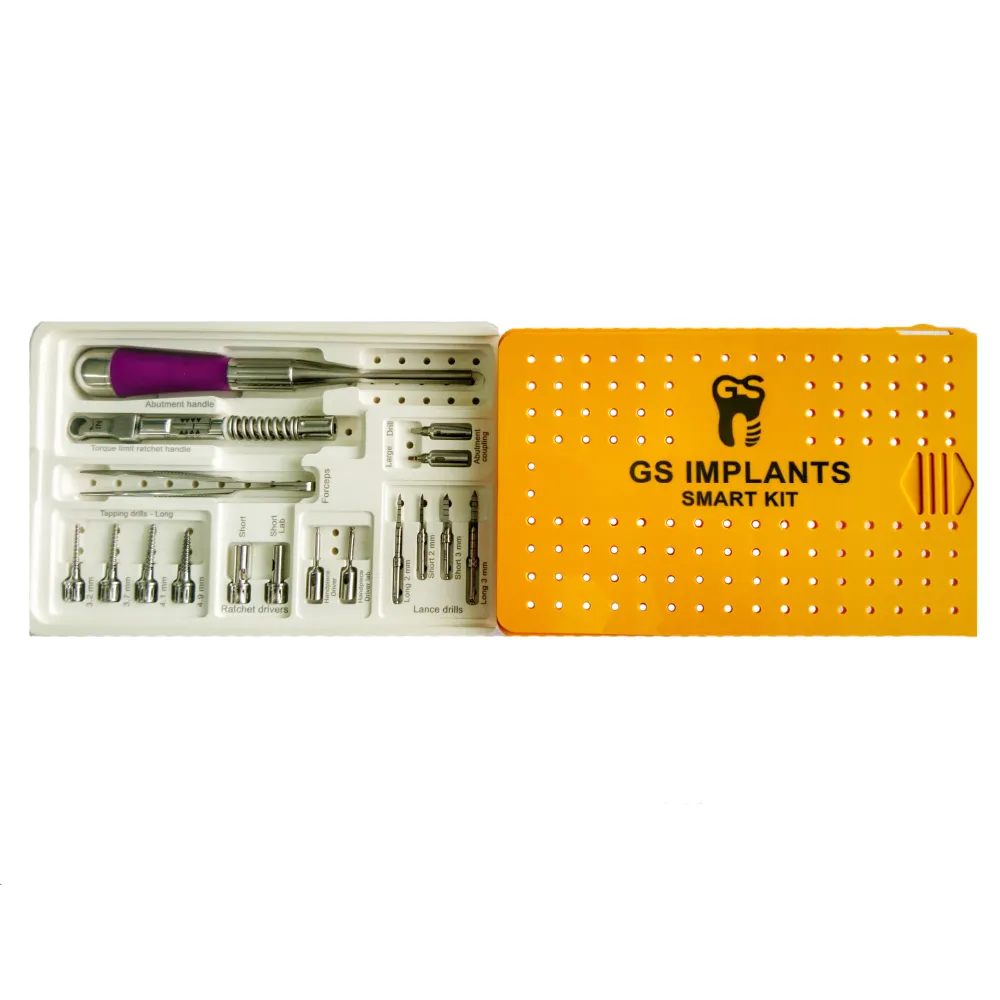
1 x Abutment handle
1 x Torque limit ratchet handle
1 x Forceps
1 x Ratchet driver (Short)
1 x Ratchet driver (Short Lab)
1 x Handpiece Driver (Short)
1 x Handpiece Driver (Short Lab)
1 x Abutment Coupling Drill
1 x Abutment Coupling (Small)
1 x Abutment Coupling (Large)
1 x Fixed Shaft Tapping Drill
1 x Instrument Tray
4 x Lance Drills (Short 2mm, Short 3mm, Long 2mm, Long 3mm)
4 x Tapping Drills (Short 3.2mm, Short 3.7mm, Short 4.2mm, Short 4.9mm)
Directions for use
Prior To Operation, the Doctor May Decide Whether He/she Would Prefer To Open The Mucoperiosteal Flap Or To Proceed Transgingivally.
In Case The Doctor Would Choose To Open The Flap, An The Incision Along The Alveolar Region Must Be Made Where The Mucoperiosteal Flap Will Be Peeled Off.
After Local Anesthetic Has Been Injected , The Initial Drill [2mm-yellow Or 2.5mm-black, One Drill Concept] Is Advanced Through The Soft Tissue At The Desired Location Until Contact With
The Crestal Bone Is Achieved [alveolar Crest Cortical Bone]. Penetration Of The Cortical Bone Must Be Performed At 20,000 To 40,000 Rpm With A 1:1 Surgical Hand Piece.
The Drill Must Be Advanced Until The Desired Depth Is Reached, While Piercing The Basal/cortical Bone.
The Initial Step Of The Drill Protocol Is To Create A Purchase Point For The Subsequent Implant Tip To Take A Grip And Avoid Sliding Into The Ridge.
This Also Results In A Hole Of A Smaller Diameter In Comparison To Threads Of The Implant. When The First Stage Of The Operation Is Complete, The Implant Is Mounted Onto The Hand Drive, Inserted Into The Fresh Osteotomy Site And Repeatedly Turned Clockwise Until High
Resistance Is Felt.
The Handle Driver Should Be Replaced By The Ratchet Driver (Short Or Long Drivers With Either Small Or Large Heads) And Ratchet Since It Is No Longer Enough To Develop The Necessary Driving Force.
In Case The Bone Is Very Hard, It Is Necessary To Use The Tapping Drill With Either A Hand Driver Or Hand Piece To The Complete Length Of The Prepared Osteotomy Site And Where The Implants Will Later Be Loaded.
Once The Bone Socket Has Been Fully Threaded, The Tapping Drill Is Withdrawn By Rotating It In A Counter- Clockwise Direction.
The Implant Can Now Be Inserted Until It Is Seated Completely.
We Must Keep In Mind That The Implant Axis And The Drilling Direction Must Correspond To The Axis Of The Greater Bone Length.
It Should Be Noted Above All That The Implants Must Be Installed With As Much Accuracy And Precision As Possible, Even Though The Implant Heads May Not Appear Parallel To The Neighboring Teeth.
When All The Implants Have Been Placed, Their Heads Can Be Bent Using The Handle Or Ratchet And Driver Provided Exclusively By GsImplant.
Complete Parallelism In Respect To The Surrounding Teeth Can Also Be Reached By Using A Carbide Bur With The High-speed Hand Piece, Trimmed By A Diamond Bur And Smoothed By A Stone.
Warranty
No warranty provided
Image